AIRPLANES.LIVE Pi receiver image setup guide
Airplanes.live offers a custom Pi image with detailed statistical graphs, many map tiles, US sectionals, and a WiFi configuration interface. The image is refined to eliminate SD card writes for a "it just works" complete setup with no updates required.
The download is compressed as a SD card image that you burn onto an SD card and boot the Raspberry Pi from. You may need to install 7zip.
Use the Airplanes.live image if you want to build a feeder that can stay active in harsh conditions and requires minimal maintenance.

Step 1:
Obtain the necessary hardware – See hardware for a more detailed discussion of suggested DIY hardware.
Step 2:
Download the file below and save it on your computer.
Latest Release:
Step 3:
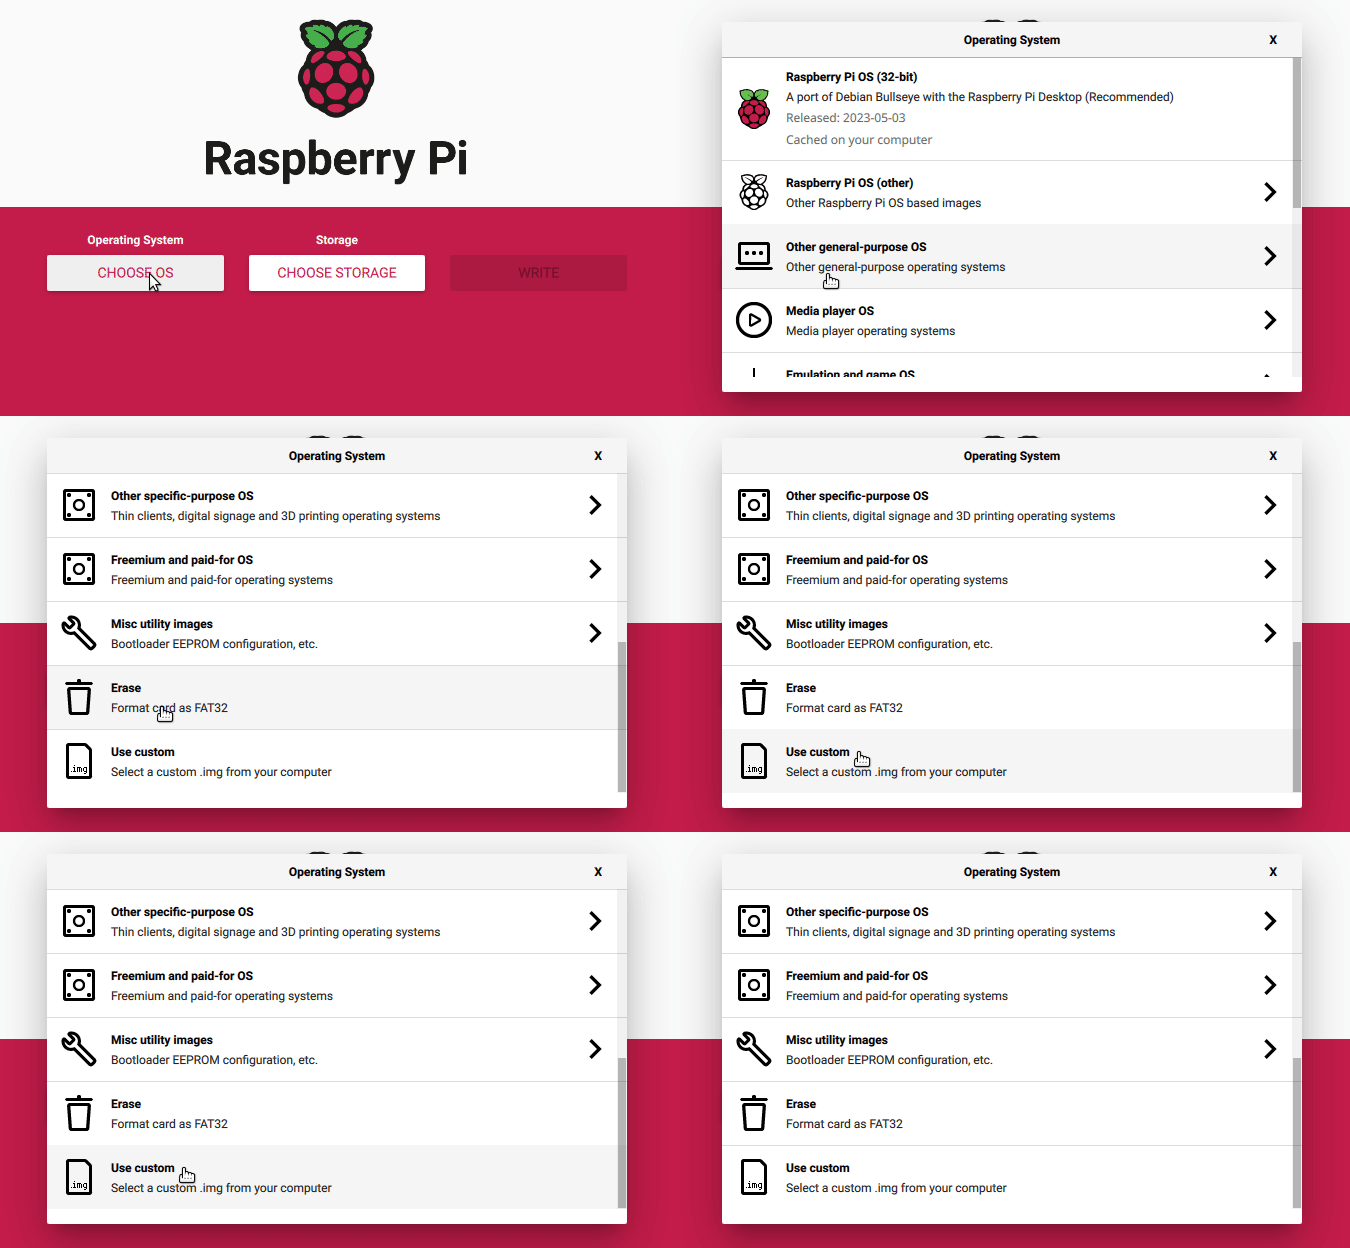
After downloading the file above, write it to a MicroSD card. Tech savvy users can use dd or a choice of disk utilities to burn the image. For all others, Airplanes.live recommends “Raspberry Pi Imager”. Under “Choose OS", select “Use Custom” and pick the image file for airplanes.live.
Step 4:
Insert SD card into the Pi, connect all hardware, then allow the Pi to boot up. On first boot, filesystem is expanded on the SD card. This can take several minutes depending on the size of your SD card. Do not interrupt this process. Subsequent boots will take 30-60 seconds.
Note: If you intend to use an Ethernet Cable for your Pi’s network connection, skip ahead to Step 6.
Step 5:
Once Pi has booted, you will see a WiFi network called “airplanes-config”. Join this network using your smartphone or computer. The Pi does not share an internet connection, you will need to tell your smartphone to “stay connected” (Android), or “keep using WiFi” (iOS).
The “airplanes-config” network only exists for 15 minutes for security reasons. If the Pi has no network connection after 15 minutes, the device will shutdown. Reboot to activate the configuration network.
Step 6:
Once connected to the wireless network named “airplanes-config”, using a web browser, open: http://airplanes.local. Click on “WiFi Setup”, select your network and input your password. The Pi will then reboot and connect to the configured WiFi.
Step 7:
If the WiFi configuration is correct, the Pi will connect to your WiFi. Access the feeder via LAN / WiFi by going to http://airplanes.local or the assigned IP.
Step 8:
Visit http://airplanes.local. Choose “Configure receiver/Location” to configure GPS location, altitude, and MLAT name. Click “Save and Reboot”
Find your lat/lon coordinates, mean sea level (MSL) altitude in your area, use FreeMapTools to find elevation based on coordinates, https://www.freemaptools.com/elevation-finder.htm .
Step 9:
Verify your feeder is connected and sending data to Airplanes.live by going to https://airplanes.live/myfeed/. Feeder status page is based on the Internet IP of the browser. Feeder must be on the same network.
Step 10:
Optional 978 UAT: United States only. Using a second SDR for the 978 UAT frequency in the US? Choose the “assign SDRs to services” option to ensure the correct SDR is used by the correct software.
Report any issues to the Airplanes.live Discord.
You're all done! ADS-B and MLAT traffic should appear on the Airplanes.live Global Map after sending data for a few minutes.
Web UI / SSH Password:
- You can change the default password for your pi using the “Change password” option in the web interface menu.
- The initial / default password is “adsb123”.
- Changing the password in the web interface will also change the password for SSH access using the user “pi”.
- Changing the password for the user “pi” will also change the password for the web interface.
SSH access:
This image is based on Raspbian Lite.
The image ships with SSH enabled. To login use the username “pi” and "adsb123".
Go to command line information.

